Understanding Holographic Stickers
What Are Holographic Stickers?
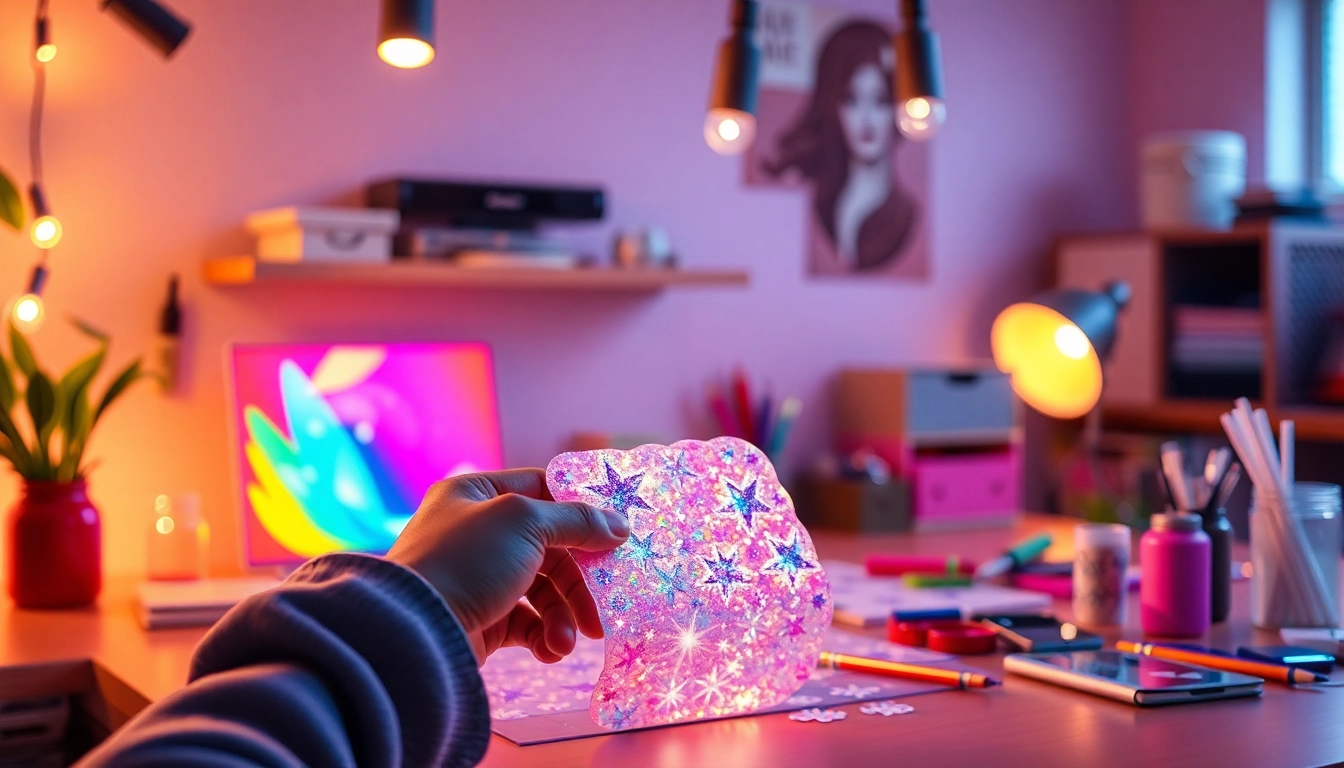
Holographic stickers are special decals that feature a unique optical effect, typically characterized by a shimmering, rainbow-like appearance. These stickers can change color and reflect light differently depending on the angle of view and the light source. They are usually made from a combination of adhesive materials layered with a holographic film, which gives them their distinctive vibrant look. Whether you’re looking to add flair to your crafting projects or seeking unique branding solutions, understanding the essence of holographic stickers is the first step.
The Science Behind Holography
Holography is a technique that records and reconstructs light fields. This process involves the interference of light beams from a laser or another coherent light source. A hologram is formed when the light from the object and the reference beam reaches a photographic plate or digital sensor. This intricate process not only captures the light information but also preserves it in a way that creates a three-dimensional image. When it comes to stickers, the embedded holographic patterns create a sense of depth and motion, making them visually captivating.
Common Uses for Holographic Stickers
Holographic stickers find application across various sectors including:
- Art and Craft: Crafted items often use holographic stickers as embellishments due to their vibrant appearance.
- Marketing and Branding: Businesses leverage holographic stickers to make their logos stand out, enhancing brand recognition.
- Event Decorations: These stickers are popular in party favors and event decorations for a fun, festive look.
- Safety Features: Some products incorporate holographic stickers as tamper-proof seals or for product authenticity.
Materials Needed for Making Holographic Stickers
Types of Holographic Paper
Choosing the right holographic paper is crucial for making high-quality holographic stickers. There are several varieties available:
- Holographic Vinyl: This type of sticker paper is durable and can withstand outdoor conditions, ideal for outdoor applications.
- Printable Holographic Film: Perfect for inkjet printers, it allows for vivid color prints that retain the holographic effect.
- Laminated Holographic Paper: A combination of holographic effects and layering for enhanced durability and shine.
Essential Tools and Equipment
Creating holographic stickers requires specific tools:
- Printer: An inkjet or laser printer capable of printing on specialty papers.
- Cricut or Cutting Machine: For precise cutting of your designs.
- Laptop or Design Tablet: To create and manipulate your sticker designs.
- Holographic Laminator: Optional but enhances durability by providing a protective layer.
Design Software Recommendations
Effective design is crucial when creating holographic stickers. Here are some software options:
- Adobe Illustrator: Industry-standard for vector design, suitable for complex sticker designs.
- Canva: User-friendly for beginners, ideal for basic designs.
- Silhouette Studio: Great for those using Silhouette machines to create stickers.
- Inkscape: A free alternative for vector graphics, useful for DIY enthusiasts.
Step-by-Step Process: How to Make Holographic Stickers
Creating Your Design
Designing your holographic sticker is the foundation of the process. Here’s a simple guide to get you started:
- Conceptualize Your Idea: Draft your design concept on paper before going digital.
- Open Your Design Software: Choose one of your preferred software tools and create a new document.
- Create or Import Your Design: Use vector tools to create your design or import an existing one.
- Adjust Colors: To maximize the holographic effect, utilize bright colors and contrasts in your design.
Printing Your Stickers
The print quality of your stickers is vital to their final appearance. Follow these steps:
- Set Your Printer: Adjust settings based on the type of holographic paper used. Ensure to select the highest quality print option.
- Test Print: Print a test design on regular paper to check colors and alignment.
- Print on Holographic Paper: Load your holographic paper into the printer and print your design.
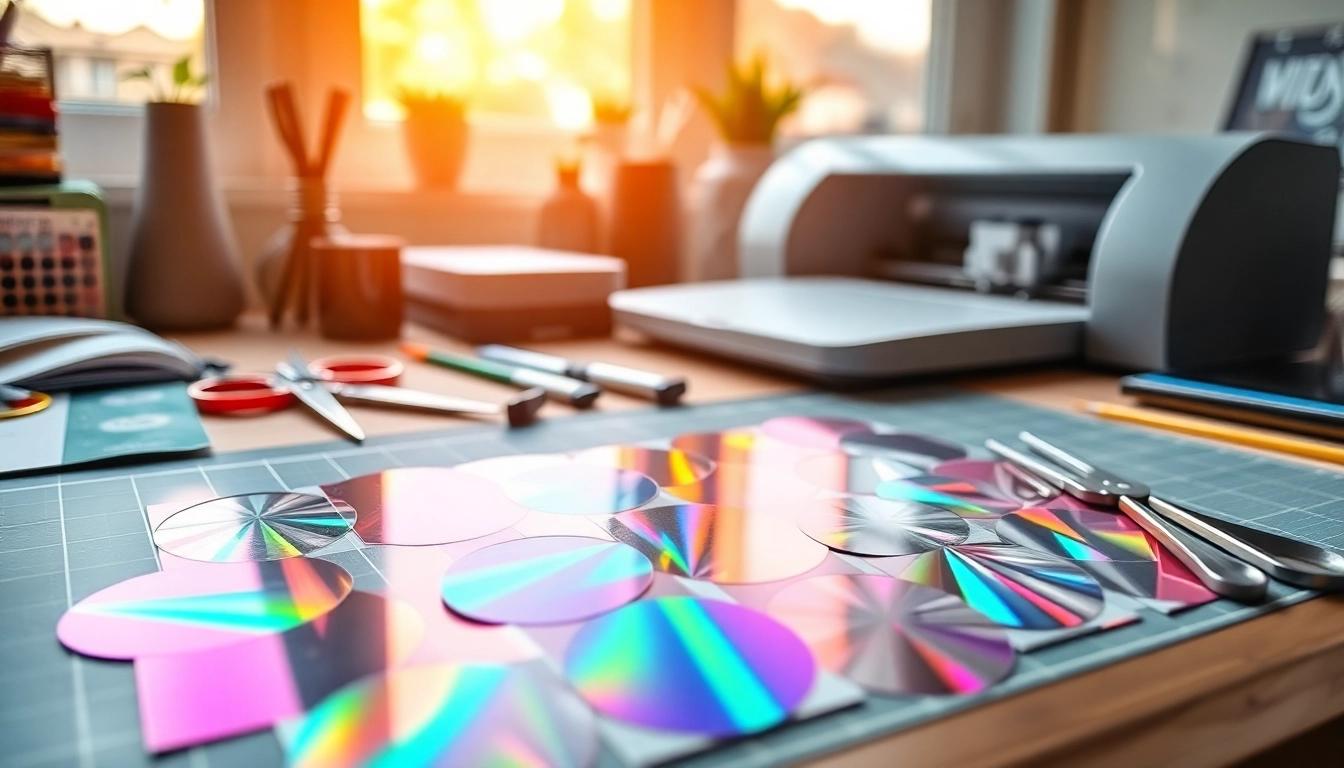
Cutting and Finishing Touches
After printing, cutting your stickers accurately will enhance the professional look:
- Prepare the Cutting Machine: Load your printed stickers into the cutting machine.
- Set Cutting Parameters: Adjust the settings based on the thickness of the paper for precise cuts.
- Finish with a Lamination (Optional): For added durability, laminate your stickers to protect against water and wear.
Best Practices for Designing Holographic Stickers
Color Combinations That Work
Choosing the right color combinations can significantly impact the final product. Here are some combinations that work well:
- Complementary Colors: Pair colors that contrast well to bring out the holographic effect.
- Pastels Against Dark Backgrounds: Light holographic designs pop against darker colors.
- Gradient Designs: Use gradients along with holographic material to create depth and interest.
How to Ensure Print Quality
Ensuring high print quality can be achieved through several techniques:
- Use High-Resolution Images: Ensure all images used are at least 300 dpi for clarity.
- Calibrate Your Printer: Regular calibration of your printer ensures consistent color output.
- Regularly Clean Your Printer: Maintain your printer to prevent issues such as streaking or fading.
Tips for Layering Designs
Layering can add complexity and visual appeal to your holographic stickers:
- Start with a Base Layer: Create a solid background color that enhances your top layers.
- Use Transparent Images: Layer images with transparency settings to allow for unique effects.
- Experiment with Different Textures: Combine matte finishes with holographic layers for contrast.
FAQs About Holographic Stickers
How to Repair Damaged Stickers?
If your holographic sticker is damaged, you might be able to repair it lightly by:
- Applying adhesive to the damaged area if it’s a peeling sticker.
- For minor scratches, use a clear adhesive film to cover and protect the area.
- Replace the sticker if it can’t be repaired effectively.
Can You Make Holographic Stickers Without a Cricut?
Yes, you can! Various methods exist for creating holographic stickers manually:
- Use scissors or a craft knife to cut your printed designs by hand.
- Utilize hand-held craft punches for simple shapes.
- Implement stencils to maintain consistency in shape.
What to Do if Your Stickers Fade?
If your stickers begin to fade, consider the following prevention tips:
- Store your stickers in a cool, dark place to minimize light exposure.
- Use UV lamination to protect against fading from sunlight.
- Replace faded stickers with newly designed versions during maintenance.
Now that you have an in-depth understanding of how to make holographic stickers, you can confidently embark on your crafting journey. With the right materials, design skills, and printing techniques, your DIY holographic sticker creations can be as stunning as those found commercially. Happy crafting!