Understanding Car Roof Lining: Materials and Challenges
The car roof lining, often referred to as the headliner, plays a crucial role in the overall aesthetics and functionality of a vehicle’s interior. Not only does it provide insulation and soundproofing, but it also adds to the vehicle’s visual appeal. However, cleaning the car roof lining can present several challenges due to the variety of materials used and the types of stains that can accumulate over time. In this comprehensive guide, we will delve deeper into the key aspects of cleaning car roof lining, ensuring that you are well-equipped to maintain this vital component of your vehicle.
Types of Headliner Materials
Car roof lining can be made from various materials, each offering different levels of durability and ease of cleaning. The most common materials include:
- Fabric: Often made from polyester or nylon, fabric headliners can be either woven or non-woven. They are popular for their softness and ability to absorb sound but can be prone to staining.
- Vinyl: This material is generally easier to clean and more resistant to water and stains. However, it can be less comfortable than fabric.
- Suede and Alcantara: Used in high-end vehicles, these materials provide a luxurious feel but require specialized cleaning to avoid damage.
Understanding these materials is essential, as different cleaning methods may be required based on the type of headliner you are working with.
Common Issues Faced When Cleaning
Cleaning car roof linings isn’t just about removing dirt and stains; it also involves avoiding damage to the material. Common challenges include:
- Stains from Spills: Liquid spills can quickly soak into fabric linings, leaving behind unsightly marks that may be difficult to remove.
- Dirt Buildup: Dust and grime accumulate over time, especially if the vehicle is used frequently. Regular cleaning is essential to prevent this buildup.
- Damage from Harsh Chemicals: The wrong cleaning products can degrade fabric and cause discoloration, making it important to choose suitable cleaners.
The Impact of Dirt and Stains
Beyond aesthetics, dirt and stains can negatively impact the car’s interior environment. They can enhance odors and create an unwelcoming atmosphere, potentially affecting the resale value of the vehicle. Hence, understanding how to effectively clean your car’s interior headliner is essential for maintaining a pristine environment.
Preparing for the Cleaning Process
Before diving into the cleaning process, taking the time to prepare is crucial. This involves selecting the right products, gathering essential tools, and considering safety precautions.
Choosing the Right Cleaning Products
The choice of cleaning products can determine the effectiveness and safety of your cleaning efforts. Some popular options include:
- Upholstery Cleaners: Many upholstery cleaners are specific to headliners and can effectively lift stains without damaging the fabric.
- Vinegar and Water Mix: A 50-50 blend can be effective for light stains; however, it should be tested on a small area first to ensure no discoloration occurs.
- Baking Soda Paste: For stubborn stains, a paste made from baking soda and water can work wonders in extracting grime.
Always ensure your chosen cleaner is suitable for the material of your headliner.
Gathering Essential Cleaning Tools
Efficient cleaning requires specific tools that will help to protect the headliner while ensuring thorough cleaning. These tools include:
- Microfiber Cloths: Soft and effective in picking up dirt without scratching the surface.
- Soft Brush: A brush with soft bristles can help loosen dirt without damaging the fabric.
- Vacuum with Attachments: A vacuum with crevice tools can help remove dust and debris before applying any cleaning solution.
- Spray Bottle: Essential for applying liquid cleaners evenly.
Safety Precautions to Consider
When cleaning the headliner, safety should always be a priority. Consider the following precautions:
- Test Cleaners First: Always perform a spot test on a discreet area to check for discoloration.
- Work in a Well-Ventilated Area: If using chemical cleaners, ensure the area is well-ventilated to avoid inhaling fumes.
- Wear Gloves: Protect your hands from chemicals and dirt by wearing gloves during the cleaning process.
Step-by-Step Guide to Cleaning Car Roof Lining
Now that you are prepared, let’s dive into a systematic approach to cleaning your car roof lining effectively.
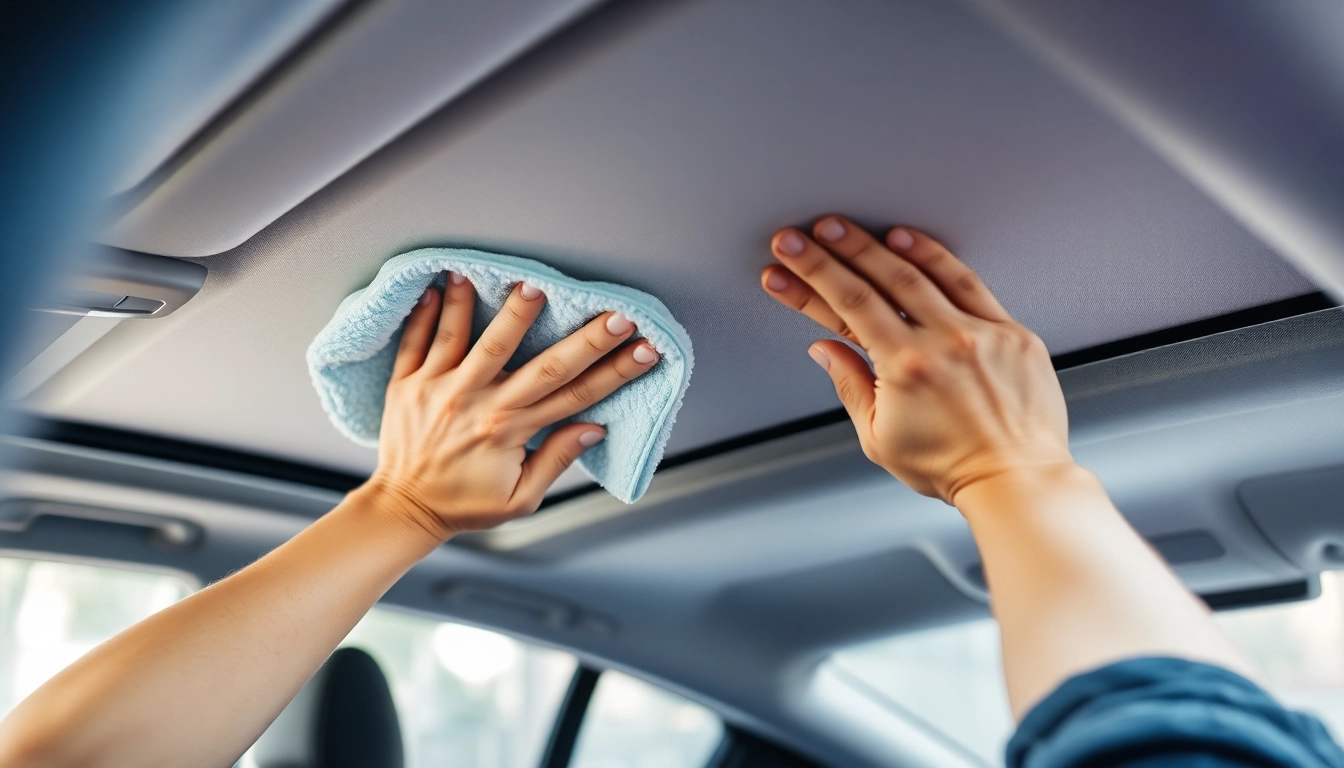
Initial Dusting and Vacuuming
The first step in the cleaning process is to remove loose dirt and debris. Start by dusting the roof lining with a microfiber cloth and follow up with a vacuum. Make sure to use a vacuum attachment to get into the corners and seams where dirt can accumulate.
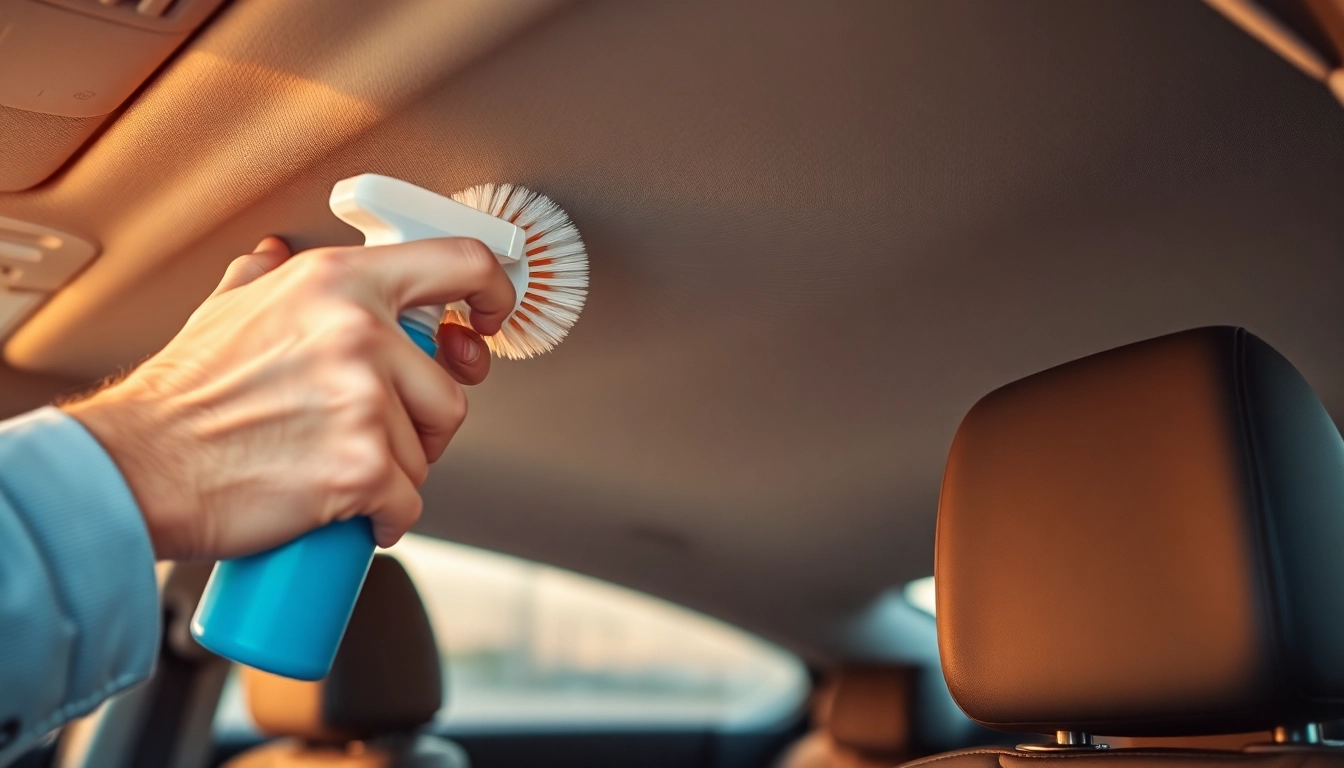
Spot Cleaning Major Stains
After dusting, identify any major stains or spots. Depending on the severity:
- For Light Stains: Dampen a microfiber cloth with your chosen cleaner and gently blot the stain. Avoid rubbing, as this may cause further damage.
- For Heavy Stains: Use a soft brush to apply the cleaner. Work in small sections and use gentle circular motions to lift the stain. Finally, blot with a clean microfiber cloth to remove excess liquid.
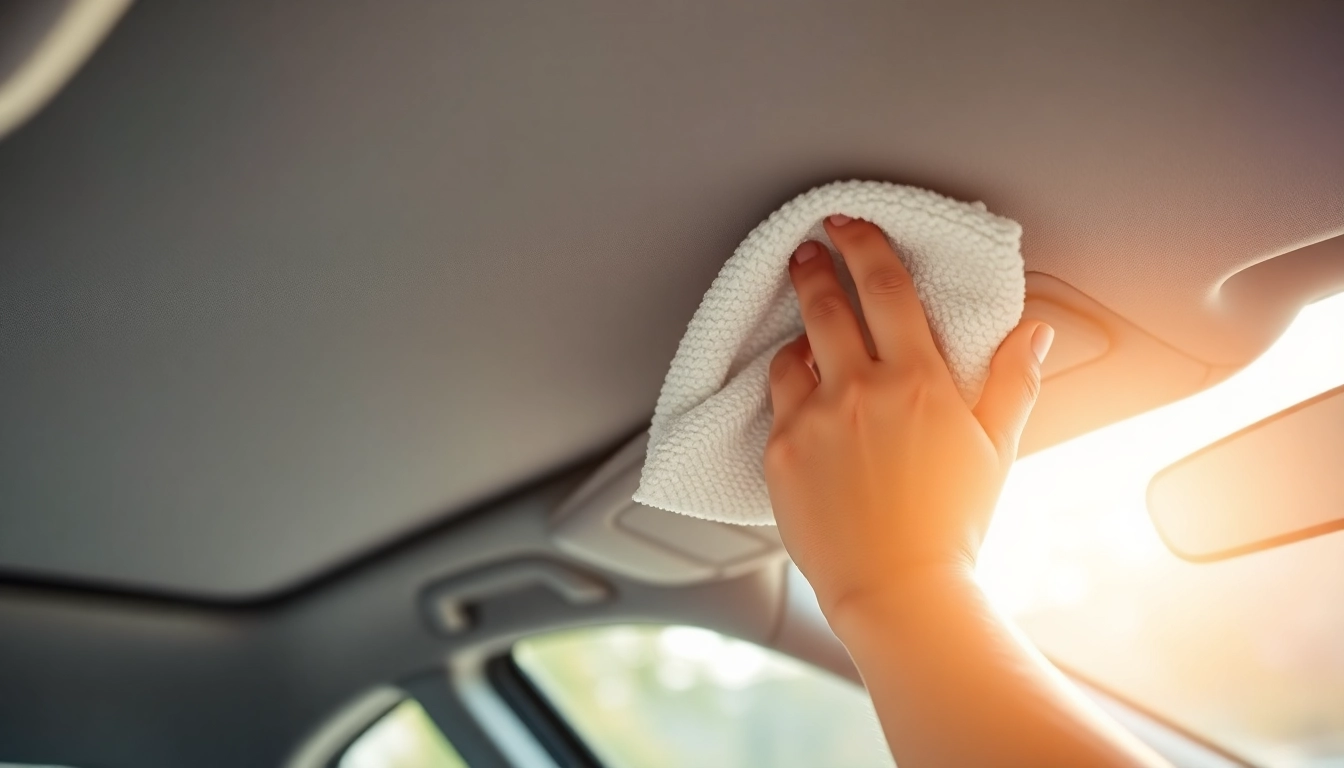
Applying Upholstery Cleaner Effectively
Once surface and spot cleaning are completed, it’s time to apply a more thorough cleaner. Follow these steps:
- Preparation: Mix the upholstery cleaner with water in a spray bottle according to the manufacturer’s instructions.
- Application: Spray the solution onto the headliner, starting from the back and working forward. Be careful not to saturate the material which can lead to further issues, such as sagging.
- Blotting: After applying, use a clean microfiber cloth to blot the area and absorb dirt and excess moisture.
- Drying: Allow the headliner to air dry completely. Avoid using heaters or hairdryers as excessive heat can damage the lining.
Best Practices for Maintaining Clean Roof Lining
Regular maintenance is essential to keep your car’s roof lining looking fresh and clean. Here are some best practices:
Regular Cleaning Schedule
Create a schedule for routine cleaning of the headliner, ideally every three to six months, depending on usage. Regular maintenance prevents buildup and makes for easier deep cleaning.
Avoiding Damaging Chemicals
Always use cleaners that are recommended for the specific material of your headliner. Harsh chemicals like bleach or ammonia should be avoided, as they can lead to discoloration or deterioration.
Tips for Preventing Future Stains
Prevention is key to maintaining a clean headliner. Consider the following tips:
- Limit Food and Drink: Encourage passengers to avoid eating and drinking in the car to prevent spills.
- Use Seat Covers: If you have children or pets, seat covers can catch spills before they reach the headliner.
- Keep Windows Closed: Dust can accumulate on the headliner when windows are left open during travel.
When to Seek Professional Help for Your Headliner
While DIY methods can be effective, professional cleaning may be necessary under certain circumstances. Understanding when to call in the experts is crucial for maintaining the integrity of your car’s interior.
Indicators of Damage Beyond Cleaning
If you notice significant sagging, large water stains, or persistent odors despite cleaning efforts, it may be time to seek professional help. These symptoms can indicate deeper issues such as dampness or material degradation that require more specialized attention.
Choosing the Right Professional Service
When selecting a professional service, look for the following:
- Specialization in Automotive Upholstery: Ensure they have experience specifically with car interiors and headliners.
- Positive Reviews: Research customer feedback and ratings to find reliable services.
Cost Considerations and Budgeting
Professional cleaning costs can vary widely ranging from $75 to $150, depending on the vehicle’s size and the extent of the cleaning required. It’s a good idea to request quotes from multiple services before making a decision and budget accordingly for regular maintenance.