Understanding the Basics of Grouting
What is Grout and Its Purpose?
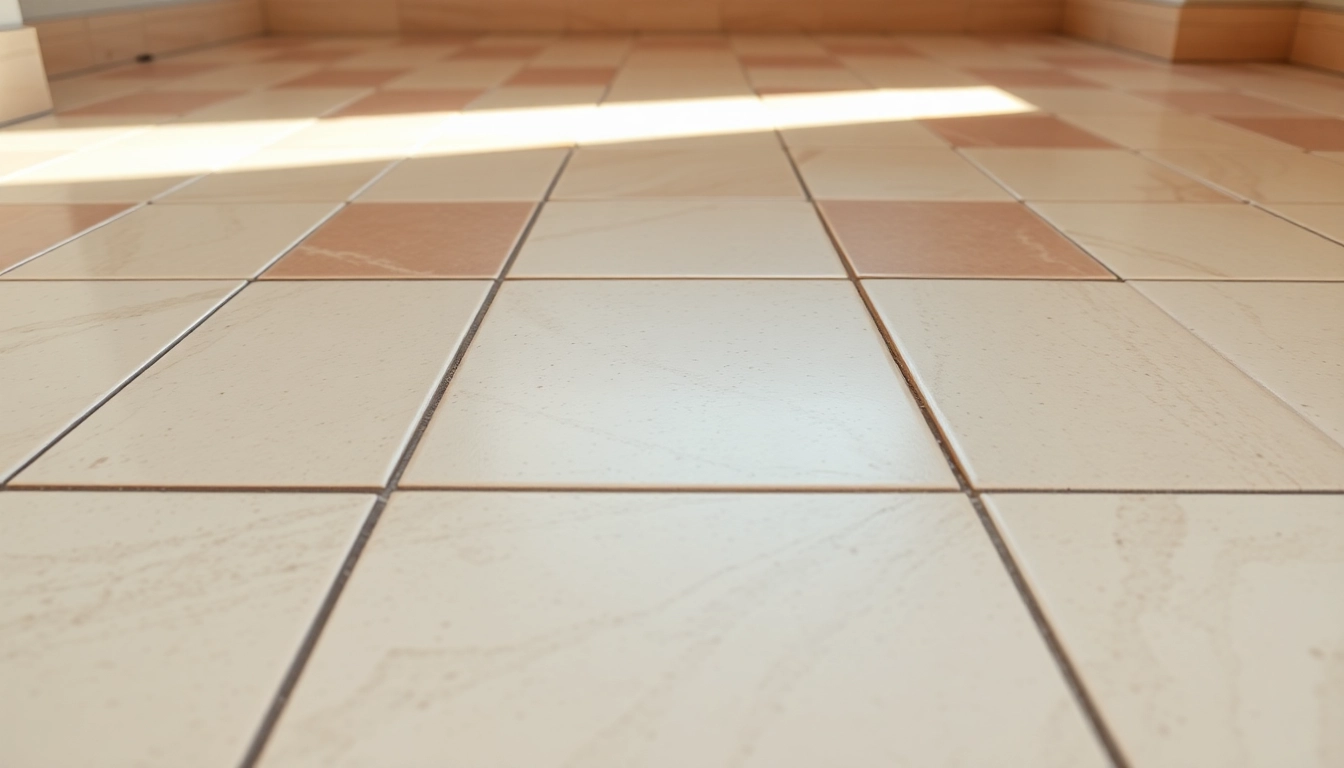
Grout is a mixture, primarily composed of cement, water, and sand, used to fill the gaps between tiles and create a solid, waterproof bond. Its main purpose lies in providing structural support to tiles, preventing water infiltration, and enhancing the overall aesthetic of a tiled surface. In addition to these functionalities, grout plays a significant role in protecting against dirt and moisture, ensuring that your surfaces not only look great but also last for years to come. Proper application and maintenance of grout are vital in achieving a flawless finish, so understanding the nuances of grouting tips is crucial for both DIY enthusiasts and professional contractors alike. For a comprehensive guide, check out these grouting tips.
Types of Grout: Which One to Choose?
Choosing the right type of grout is critical for the success of your tiling project. There are several primary types of grout, each serving distinct purposes:
- Cementitious Grout: The most commonly used type, it’s made from portland cement, sand, and water. It’s versatile and ideal for many applications.
- Epoxy Grout: Known for its strength and durability, epoxy grout is water and stain resistant, making it ideal for areas exposed to heavy moisture or stains, such as kitchens and bathrooms.
- Furan Grout: This type is similar to epoxy grout but is even more resistant to chemicals and heat. It’s often used in industrial applications.
- Unsanded Grout: This is typically used for narrow joints (less than 1/8 of an inch) since it does not contain sand, allowing for smoother application.
- Sanded Grout: Ideal for wider joints (greater than 1/8 of an inch) as the sand provides additional strength and prevents shrinking.
When selecting your grout, consider factors such as the size of the joints, the material of the tile, and the environment in which the tile will be installed.
Essential Tools for Grouting Success
To ensure a successful grouting process, having the right tools is imperative. Below are the essential tools you’ll need:
- Grout Float: This tool is essential for applying and spreading the grout evenly into the joints.
- Tile Sponges: For cleaning excess grout off the tiles, tile sponges are soft and help avoid scratching surfaces.
- Mixing Bucket: A sturdy bucket is needed for mixing your grout.
- Putty Knife: Useful for scraping excess grout from the surface and smoothing joints.
- Grout Saw: This helps in removing old grout and cleaning existing joints before re-grouting.
Additionally, don’t forget safety goggles and gloves to protect your eyes and hands while working with grout materials.
Preparing Your Space for Grouting
Cleaning Tile Surfaces: Importance and Techniques
Before you start grouting, cleaning the surface is essential to ensure proper adhesion and a professional finish. Dust, dirt, and debris can prevent the grout from bonding effectively, leading to future problems.
Here are some effective cleaning techniques:
- Vacuum: Begin by vacuuming the tile and grout joints to remove any loose debris.
- Scrape: Use a stiff putty knife to scrape any protruding tile adhesive or debris.
- Wipe Down: Use a damp sponge to wipe down the tile surfaces, ensuring they are free from dust and trowel marks.
- Dry Thoroughly: Allow the tile surface to dry completely before applying grout.
By following these cleaning steps, you can significantly improve the results of your grouting process.
How to Choose the Right Grout Color
Choosing the right grout color can dramatically affect the overall look of your tiled area. Here are some tips to help you decide:
- Match or Contrast: Decide whether you want the color to match the tile or contrast with it. Matching colors can create a seamless look, while contrasting colors can delineate spaces and add visual interest.
- Consider Lighting: The appearance of grout can change dramatically under different lighting conditions. Test grout colors in your intended space before making a final decision.
- Sample Swatches: Use grout samples to see how they look with your tiles. Apply a small amount in an inconspicuous area to test the combination.
Involving these considerations can help you achieve a cohesive and appealing design.
Taping Techniques to Protect Surrounding Areas
Proper taping is a simple yet effective way to protect your surfaces while grouting. Here are some best practices:
- Choose the Right Tape: Use painter’s tape or masking tape to avoid pulling off paint or damaging surfaces.
- Tape Along Edges: Apply tape along the edges of tiles, borders, and any adjoining surfaces you want to protect from grout.
- Overlap Seams: If you’re taping a large area, make sure the seams overlap slightly to prevent leaks.
By following these taping techniques, you can avoid unsightly corrections later on.
Step-by-Step Guide to Grouting
Mixing Grout: Tips for Optimal Consistency
Mixing grout correctly is vital in achieving a smooth consistency and proper application. Follow these steps:
- Read Instructions: Always check the manufacturer’s instructions on the grout packaging.
- Use the Right Water: To achieve the right consistency, ensure that you use clean, potable water.
- Mix Thoroughly: Use a drill with a mixing paddle or a bucket mixer to thoroughly blend the grout, ensuring there are no lumps.
- Consistency Check: The final mix should have a peanut butter-like consistency for easy application.
By ensuring optimal mixing, you minimize issues with application and enhance the overall durability of the grout.
Applying Grout Correctly: Techniques and Best Practices
Application is critical to a successful grouting project. Here are some expert techniques and best practices:
- Use a Grout Float: Hold the grout float at a 45-degree angle and press the grout into the joints, ensuring full coverage.
- Work in Sections: Start with a small area to maintain control over the grout before moving onto larger sections.
- Don’t Skimp: Ensure sufficient grout is applied to fill the joints completely without leaving gaps.
- Diagonal Motion: Sweep the float diagonally across the tile surface to remove excess grout while avoiding pulling grout out of the joints.
These best practices help achieve consistent joint coverage and visual appeal.
Timing: When to Wipe Off Excess Grout
Timing is crucial in the grouting process, especially when it comes to wiping off excess grout. Typically, you should wait:
- 15 to 30 Minutes: After applying the grout, allow it to set for 15 to 30 minutes or as indicated in the manufacturer’s instructions.
- Check for Firmness: Gently touch the grout joints; if they are firm to the touch but not fully cured, it’s the right time to wipe off excess grout.
Using a damp sponge and clean water, wipe the surfaces using a gentle circular motion to avoid disturbing the grout in the joints.
Common Grouting Mistakes and How to Avoid Them
Top 5 Grouting Mistakes That Ruin Your Project
Even seasoned DIYers can make common mistakes during grouting. Here’s what to watch out for:
- Not Mixing Properly: Grout that isn’t mixed well can lead to inconsistent color and texture.
- Applying Too Much Grout: Overfilling joints can lead to unsightly excess on tile surfaces that is difficult to clean.
- Ignoring Drying Times: Failing to adhere to the required drying times can result in grout cracking or discoloration.
- Skimping on Cleaning: Not cleaning excess grout off tiles promptly can lead to a hard-to-remove haze.
- Choosing the Wrong Grout Type: Using a type of grout that is inappropriate for your tile can affect durability and appearance.
Avoiding these mistakes will lead to a more successful and visually appealing outcome.
How to Fix Common Grouting Errors
If you encounter issues, here are some quick fixes to common errors:
- Hazy Residue: Remove dried grout haze with a specialized cleaner or a mixture of vinegar and water.
- Cracked Grout: For cracks, remove the damaged section and reapply grout carefully.
- Discoloration: If grout discolors over time, it might need to be sealed to prevent further staining.
Taking immediate action can help remedy most grouting issues and preserve the integrity of your work.
Best Practices for Preventing Grout Issues
Proactive measures can help you avoid problems with grout. Consider these best practices:
- Use Quality Materials: Invest in high-quality grout and sealers to ensure durability.
- Regular Maintenance: Clean and seal your grout periodically to prolong its life.
- Follow Instructions: Adhere strictly to the manufacturer’s directions on grout mixing and application.
Implementing these best practices will enhance the longevity and aesthetics of your tiled surfaces.
Maintaining Your Grouted Surfaces
Sealing Grout: When and Why It’s Essential
Sealing grout is an important maintenance step that protects tile surfaces from staining and moisture absorption. Here’s when and why you should seal:
- After Installation: New grout should be sealed once it has fully cured (usually 7 to 10 days).
- Regular Intervals: For high-traffic areas, re-seal grout every 6 to 12 months.
- Stained Grout: If grout appears stained or discolored, it might need a fresh sealant application.
Sealing grout can dramatically reduce maintenance needs and enhance the appearance of your tiled spaces.
Cleaning Tips to Prolong Grout Life
Routine cleaning is essential to maintaining the appearance and extending the life of your grout:
- Use pH-Neutral Cleaners: Avoid acidic cleaners that can break down grout and tile surfaces.
- Spot Clean: Clean spills immediately to prevent staining. Use a damp cloth and mild detergent.
- Avoid Abrasives: Do not use steel wool or other abrasive materials, which could scratch the tile or grout.
Regular maintenance will ensure your grout remains in excellent condition for years to come.
Repairing Damage: When to Re-Grout
Over time, grout may need to be repaired or replaced due to wear or damage. Here’s how to identify when it’s time to re-grout:
- Cracking or Crumbling: If grout shows signs of cracking or crumbling, it needs replacing to ensure moisture doesn’t penetrate behind tiles.
- Stains or Discoloration: Deep stains that cannot be cleaned may necessitate removal and replacement of grout.
- Moisture Concerns: If you suspect moisture trapped behind the tiles due to cracked grout, re-grouting is essential.
Regularly inspect grout for signs of damage and address issues promptly to maintain the integrity of your tiled surfaces.