Understanding Tile Grouting Basics
What is Tile Grouting?
Tile grouting refers to the process of applying grout, a dense fluid used to fill the gaps between tiles and create a durable, stain-resistant surface. Grout is an essential component of any tiled surface, whether it be floors, walls, or countertops, providing structural integrity while also enhancing aesthetics. There are different types of grout available, including cement-based, epoxy, and furan grouts, each suited for various applications and conditions.
Importance of Proper Grouting
Proper grouting plays a pivotal role in the longevity and functionality of tiled surfaces. It not only prevents water infiltration, which can lead to mold and mildew in wet areas like bathrooms and kitchens, but it also helps maintain the beauty of the tiles by ensuring that joint lines are even and consistent. A well-done grouting job can protect the investment in your tile installation and prevent costly repairs. Moreover, proper grout application improves the overall structural strength of the installation, making it more resilient to wear and tear.
Common Materials Used in Grouting
The two most common types of grout materials are cement-based and epoxy grouts. Cement-based grout is typically easier to work with and is suitable for a range of conditions, while epoxy grout provides enhanced resistance to stains and chemicals, making it ideal for high-traffic or industrial settings.
- Cement-Based Grout: Made from a mixture of cement, water, and sand, this is the most common type for residential tile installations.
- Epoxy Grout: A durable resin that offers excellent resistance to stains, moisture, and chemicals, making it perfect for kitchens and bathrooms.
- Furan Grout: A specialty grout used for industrial applications, it is highly resistant to harsh chemicals.
Essential Tools for Tile Grouting
Must-Have Grouting Equipment
To achieve a flawless grout application, having the right tools is crucial. Below is a list of essential tools you will need for your grouting project:
- Grout Float: This tool allows you to spread and press grout into the joints effectively.
- Sponge: A damp sponge is necessary for cleaning excess grout from the tile surface without damaging the grout lines.
- Bucket: Use a mixing bucket to prepare your grout mixture. Avoid using containers that are too large, as smaller batches are easier to manage.
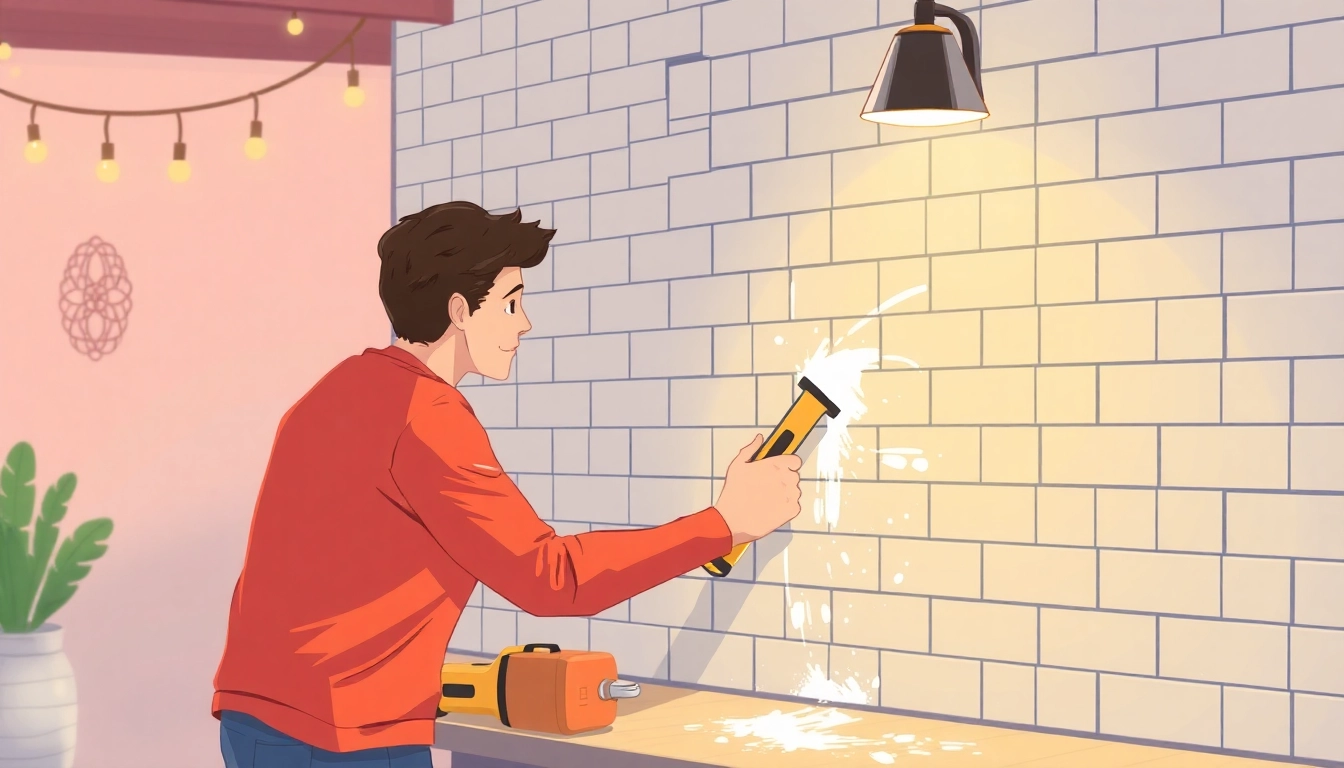
- Caulking Gun: For applying caulk where tiles meet walls or other surfaces, ensuring a watertight seal.
- Trowel: Helps in applying grout and smoothing it along borders.
- Masking Tape: Useful for protecting edges and getting clean lines when applying grout.
Best Grout Floats and Sponges
Choosing the right grout float and sponge is key to efficient grouting. A good grout float is typically rectangular, made of rubber or foam, and has a sturdy handle. It should also have a smooth surface to avoid damage to the tiles. On the other hand, a high-density sponge is best for clean-up, as it can easily absorb excess moisture without leaving behind residue. Keep in mind to use a new sponge for each project, as old sponges can introduce dirt and damage tile surfaces.
Choosing the Right Grout Color
The color of your grout can significantly affect the overall look of your tile installation. Light grouts can provide a fresh look, but they may show stains and dirt more quickly than darker shades. Conversely, dark grout can create a striking contrast and hide imperfections but may absorb heat in sunny areas. Consider using a grout color that complements your tile choice, and always test a small area before applying to determine how it looks when dry.
Step-by-Step Tile Grouting Process
Preparing for the Grouting Project
Preparation is crucial to ensure a successful grouting experience. Start by ensuring that your tiles are firmly set and that there are no spaces that could cause issues afterward. The joints must be clean and free from dust or debris. Additionally, gather your tools and materials before starting to avoid interruptions during the process.
Mixing Your Grout Properly
Follow the manufacturer’s instructions for mixing grout, as different products may have varying requirements. Typically, you’ll need to add water to the dry grout mix, stirring continuously until you reach a creamy consistency without lumps. It’s best to mix smaller batches of grout to ensure that it remains workable throughout the application process, typically for about 30 minutes before it begins to set. A good strategy is to set a timer during this period to maintain the integrity of your mixture.
Applying Grout: Techniques that Work
To apply grout effectively, use your grout float at a 45-degree angle, pressing the grout firmly into the joints and ensuring complete filling. It’s best to work in small sections of a few square feet at a time, moving across the surface in a diagonal motion to avoid leaving excess grout. After filling all joints, you can run the float diagonally over the tiles to remove any excess grout on the surface.
Common Tile Grouting Mistakes to Avoid
Overgrouting and Its Effects
One of the most common mistakes when grouting tiles is overgrouting—applying too much grout into the joint spaces. This can lead to unsightly build-up and make it harder to clean the tiles afterward. Proper technique is essential to avoid grinding into the grout line excessively, which could lead to cracks and other issues.
Timing Mistakes When Wiping
Timing is crucial in the grouting process, particularly when it comes to wiping excess grout off the tiles. Typically, you should wait about 15-30 minutes after applying the grout before beginning the wipe-down process. Waiting too long can lead to overly dry grout that may crack upon disturbance, while starting too early can lead to smearing and uneven grout lines. Stay aware of temperature and humidity conditions, as these can also affect drying times.
Issues with Grout Consistency
Using grout with inconsistent consistency can lead to several issues, such as cracking and uneven coloring. To avoid this, make sure to mix your grout thoroughly and check for a uniform texture before application. Testing a small amount on a tile can help gauge how it handles and dries. Ensure that it is not too watery or too thick, as either condition can lead to poor results.
Advanced Tile Grouting Tips and Techniques
Using Tape for Clean Edges
Applying masking tape along the edges of the tile can drastically improve the cleanliness of your grout lines. Once your grout has cured, you can gently peel away the tape which will leave you with sharp edges, giving your installation a professional finish. This technique is especially useful when grouting adjacent to walls or other surfaces where a clean transition is desired.
Sealing and Finishing Touches
Once the grout has set (usually 24 hours later), it is recommended to apply a grout sealer to protect your work. Sealing helps to prevent moisture, stains, and dirt from penetrating the grout and extending its lifespan. There are various sealers available, so choose one that corresponds to the grout type you’ve used, and follow the product’s directions for application.
Maintaining Grout Longevity
To ensure the longevity of your grout, regular maintenance is essential. Clean your tiled surfaces frequently using a pH-neutral cleaner to avoid damaging the grout. Pay attention to high-moisture areas and regularly inspect for cracks or discoloration. If you notice any issues, a quick repair can prevent further damage and keep your tiles looking new for years to come. Additionally, consider periodic reapplication of grout sealer as advised by the product’s guidelines.