Understanding the Basics of Tile Grouting
What is Grouting and Why is it Important?
Grouting is the process of applying a thick mixture of water, cement, and sand to fill the gaps between tiles. It serves not only as an aesthetic finish but also plays a crucial role in tile installation. Proper grouting prevents water infiltration, minimizes movement between tiles leading to cracks, and provides a seamless look that enhances the overall appearance of tiled surfaces.
Common Types of Grout and Their Uses
There are various types of grout, each suited for different requirements:
- Cementitious Grout: The most common type, made from cement, sand, and water. It’s ideal for interior tile installations.
- Epoxy Grout: A more durable and chemical-resistant option that works well in high-traffic areas and wet environments.
- Furan Grout: Similar to epoxy but made from a resin that’s effective against acids. It’s ideal for industrial applications.
- Urethane Grout: Flexible and resistant to stains, it’s best used for wood and tile installations.
Preparing Your Tile Surface for Grouting
Before you start grouting, ensure that your tile surface is clean and dry. Any dust or debris can interfere with the adhesion of the grout:
- Clean the Tiles: Use a vacuum or wide brush to remove dust or debris.
- Inspect the Tile Joints: Ensure there are no gaps or inconsistencies that could cause problems when applying the grout.
- Use Spacers: If you haven’t already, place spacers between the tiles to maintain even gaps.
Essential Tools for Grouting Tiles
Choosing the Right Grout Float and Sponge
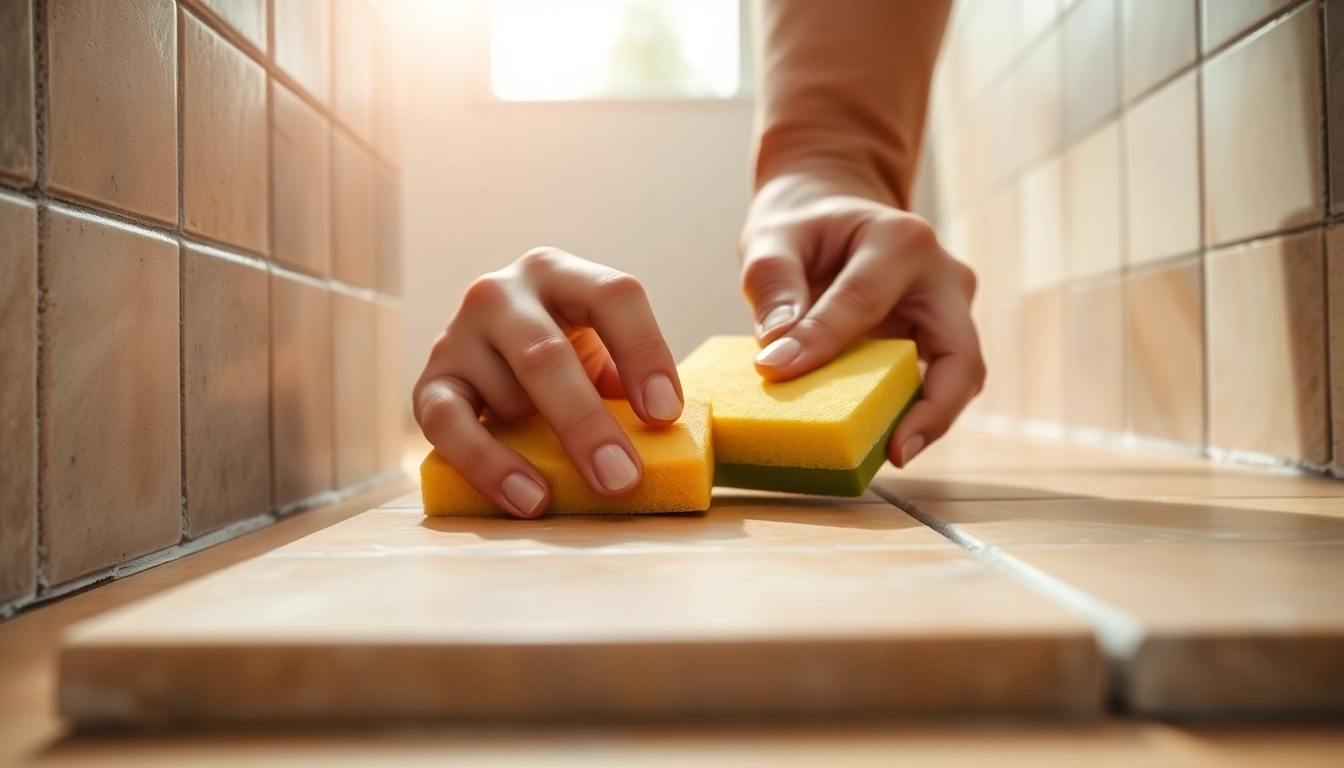
The grout float is a tool designed to help you apply grout evenly. Choose one with a comfortable grip and a firm edge. A rubber sponge is essential for cleaning excess grout from the surface of the tiles after application. Look for a synthetic sponge that holds water well and is easy to wring out.
Additional Tools to Enhance Your Grouting Process
Besides the basic tools, consider these additional items for a more efficient grouting process:
- Mixing Bucket: Use a clean bucket that can hold enough grout for your project.
- Trowel: A small trowel can help with mixing and preparing small batches of grout.
- Caulking Gun: Necessary for applying sealants or caulks after grouting.
Safety Equipment for Grouting Projects
Protect your health while working with grout. Use safety goggles to protect your eyes from dust, gloves to prevent skin irritation, and a mask if you’re sensitive to respiratory irritants.
Step-by-Step Guide to Grouting Tiles
Mixing Grout: Tips and Techniques
Start by reading the manufacturer’s instructions on the grout packaging. Mix the grout in small batches to prevent it from drying before you can use it. A good rule of thumb is to mix only what you can apply in about 30 minutes:
- Use a drill with a mixing attachment for consistency.
- Test the grout’s consistency; it should be thick but workable.
Applying Grout: Best Practices
Follow these best practices for applying grout effectively:
- Use a grout float to spread the grout diagonally across the tile joints. This helps to fill the gaps thoroughly.
- Work in sections to avoid the grout setting before you have a chance to wipe it down.
- After applying, wait about 15-30 minutes for the grout to set before wiping it with a damp sponge.
Common Mistakes to Avoid When Grouting
Avoid these frequent pitfalls when grouting:
- Using Too Much Water: This can dilute the grout and weaken its structure.
- Skipping Cleanup: If you don’t wipe the grout off the tiles promptly, it can become difficult to remove.
- Overfilling: Make sure not to overfill the joints as this can lead to a messy appearance.
Advanced Grouting Techniques
Color Customization and Matching Grout
Grout color can significantly affect the overall aesthetic of your tiled surface. If you want to customize the color, consider using grout pigments available at hardware stores. When selecting your grout, always test a small batch before application to ensure it matches your expectations.
Using Grout Sealants for Longevity
Applying a grout sealant can protect your grout from stains and moisture. Wait at least 72 hours after grouting before sealing, allowing the grout to cure fully. Follow the manufacturer’s instructions for the best results.
Repairing and Regrouting Existing Tile
If you have existing tile that needs regrouting, start by removing the old grout with a grout saw. Be cautious not to scratch the tiles. After clearing the joints, clean thoroughly and follow the same steps as you would for new grouting.
Maintaining Grouted Tiles for Longevity
Cleaning Tips for Grouted Surfaces
Regular cleaning is vital to keep your grouted surfaces looking fresh. Use a mild detergent and a non-abrasive sponge or cloth. Avoid harsh chemicals that can damage the grout over time. For tougher stains, consider using a vinegar and water solution, but rinse thoroughly afterward.
Identifying Signs of Damage or Wear
Inspect your grouted surfaces regularly for any signs of wear or damage. Look for cracked grout lines, discoloration, or crumbling areas. These issues can indicate a need for regrouting or sealant application.
Routine Maintenance for Tile and Grout
Implement routine maintenance practices, such as sealing every couple of years and wiping down tiles after heavy usage. This will help prolong the life of both your tiles and grout.
For more effective grouting tiles tips and techniques, consult professional resources or instructional videos that offer step-by-step guidance and troubleshooting advice.